
Amazon is the big player when it comes to ecommerce. Better yet, you can grab a piece of the action as well. All you need to do is to set up your seller account and start selling your products on Amazon. In this blog post, we’ll show you how to get started on Amazon in 6 simple steps.
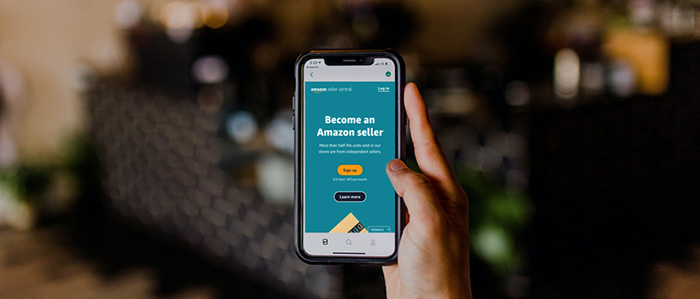
1. Register your Seller Account
To sell on Amazon, you first need to register your seller account. Selling on Amazon professionally is not free, so you need to be aware of the costs, which are currently £25 per month, before you set up the account.
The registration process itself is really straightforward. Simply click on the big, orange ‘sign up’ button in the middle of the Amazon Services webpage. By clicking on the button, you will then enter a step-by-step registration process. First, you will need to provide the country where your business is located as well as the type of business. You can also register as an individual. And of course, Amazon will then require your legal business name to identify you.

You will then need to agree to the Terms and Conditions to continue the process. Step by step you will then be asked to enter the relevant information. This includes company registration details, primary contact person information, beneficial owner information, as well as bank account information. Amazon will need the latter as all of the proceeds from your future sales will be transferred directly to that bank account via BACS. If you wish to change that banking details at a later point, you can find a detailed guide for that here.
In addition, you will need to provide your credit card details. This is necessary because Amazon will take the earlier mentioned subscription fee from that credit card account if your seller account balance is less than the required £25. To be able to finish the registration process, you will also need to provide your phone number, as it is used to verify your account. You will receive either a call or a text message with a PIN that you then need to type during the registration process.
Once you’ve entered all the required data and Amazon has approved it, you are ready to get started on Amazon.
2. Set up your profile
In theory, you can immediately start selling. However, it is recommended to first invest some time to polish your seller profile. It shows your buyers who you are and can help to build trust and long-term relationships. It simply makes you less anonymous and therefore more trustworthy for customers.
In the About section, you can for example write about the story that is behind your business, your values, your heritage and your sales policies. Also, make sure that you are very clear on your shipping policies and return policies. The latter need to be in line with Amazon’s policies.
And lastly, adding a logo is a good way to make your Amazon store look professional. It can also help buyers to recognise and remember you, which is only beneficial for your sales.
With your Amazon account all set up nicely, you can now start selling.
3. Upload your listings
Before you can make money, you will of course need to upload your listings. This process will require some consideration into what will and won’t work on Amazon – depending on your inventory.
There are many factors influencing this decision. For example, cost. You should research what prices you can sell your products on Amazon by looking at similar products. And of course, you need to know what the item costs you to figure out whether you can make a reasonable profit on the listing. Don’t forget to include delivery charges and selling fees in your calculation too!
Do your research on whether your products are too similar to those already existing on Amazon, how many sellers there are, and where you come in with a competitive edge. You also need to make sure you know in which categories your items belong. It’s key to know your category and its restrictions, as well as ensuring that the items you want to sell are not prohibited.
Then, follow our suggestions and create awesome listings that boost your sales. Write capturing titles and detailed descriptions with images, videos and more. This will help you to get to the next step.
4. Deliver your products
Once your efforts have been rewarded with a purchase, it is time to deliver the products. You might want to consider using Fulfilment by Amazon, as it is a popular and useful fulfilment method where Amazon stores, picks, packs, and ships the products for you.
However, if you decide to handle the delivery by yourself, make sure you deliver timely and at low costs. Amazon will send you an email to let you know the item has been sold, leaving you to sort out the despatching of the item. Remember, orders need to be despatched within 48 hours to comply with Amazon’s policies.
And if something should go wrong, excellent customer service is key to maintaining a good relationship with your customers. This also means keeping your customers informed about their orders at all times.
5. Receive your payment
The last step is surely the best one: get paid! The payment for your sales will be deposited into your bank account and at the same time you will receive an e-mail to confirm that has happened. Receiving the payment is the reward for all your efforts and what ultimately keeps your business going.
6. Get started on Amazon – Now!
With a growing business comes a growing workload. A solution to help you along the way? Khaos Control Cloud. Our cloud-based ERP software solution handles your marketplace orders in one central location – whether that’s Amazon, eBay and more.